Load other types of paper
The following table provides guidelines for loading certain types of paper. For best
results, adjust the paper settings each time you change paper sizes or paper types. For
information on changing paper settings, see the onscreen HP Image Zone Help.
Note
Not all paper sizes and paper types are available with all the functions on the
HP all-in-one. Some paper sizes and paper types can only be used if you are
starting a print job from the Print dialog box in a software application. They are
not available for copying, faxing, or printing photos from a memory card or digital
camera. Papers that are only available for printing from a software application
are indicated as such, below.
Chapter 5
36
HP Officejet 7300/7400 series all-in-one
Load
originals
and
load
paper

Paper
Tips
HP papers
●
HP Premium Paper: Locate the gray arrow on the nonprinting side
of the paper, and then slide the paper into the input tray with the
arrow side facing up.
●
HP Premium Inkjet Transparency Film: Insert the film so that the
white transparency strip (with arrows and the HP logo) is on top and
is going into the input tray first.
Note
The HP all-in-one might not automatically detect
transparency film if it is loaded incorrectly, or if you use
transparency film other than HP transparency film. For best
results, set the paper type to transparency film before printing
or copying onto transparency film.
●
HP Iron-On Transfers: Flatten the transfer sheet completely before
using it; do not load curled sheets. (To prevent curling, keep transfer
sheets sealed in the original package until you are ready to use
them.) Locate the blue stripe on the nonprinting side of the transfer
paper and then manually feed one sheet at a time into the input tray
with the blue stripe facing up.
●
HP Matte Greeting Cards, HP Photo Greeting Cards, or
HP Textured Greeting Cards: Insert a small stack of HP greeting
card paper into the input tray with the print side down; slide the stack
of cards forward until it stops.
Labels
(for printing from a
software application
only)
Always use letter or A4 label sheets designed for use with HP inkjet
devices (such as Avery inkjet labels), and make sure that the labels are
not more than two years old.
1
Fan the stack of labels to make sure none of the pages are sticking
together.
2
Place a stack of label sheets on top of full-size plain paper in the
input tray, label side down. Do not insert labels one sheet at a time.
Continuous banner
paper
(for printing from a
software application
only)
Continuous banner paper is also known as computer or z-fold paper.
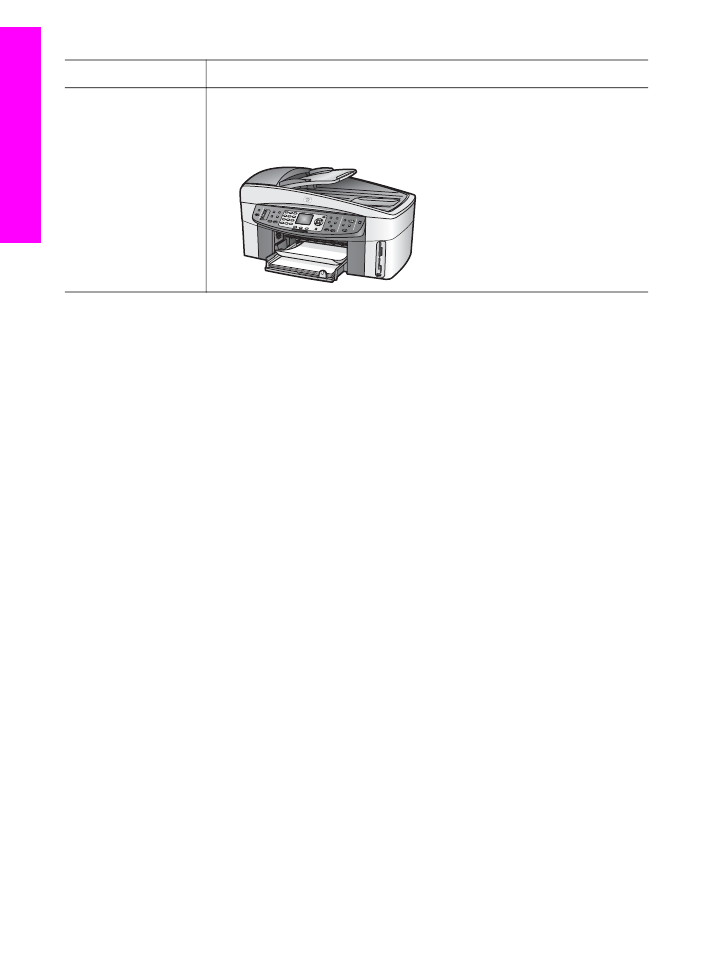
1
Remove the output tray.
2
Remove all paper from the input tray.
Note
Leave the output tray off of the HP all-in-one while the
banner prints to prevent the continuous banner paper from
tearing.
3
Verify that the stack of banner paper contains at least five pages in
the stack.
Note
If you use non-HP banner paper, make sure you use 20-lb.
paper.
4
Carefully tear off the perforated edge strips from both sides of the
paper stack, if any, and unfold and refold the paper to make sure the
pages do not stick together.
User Guide
37
Load
originals
and load paper
Paper
Tips
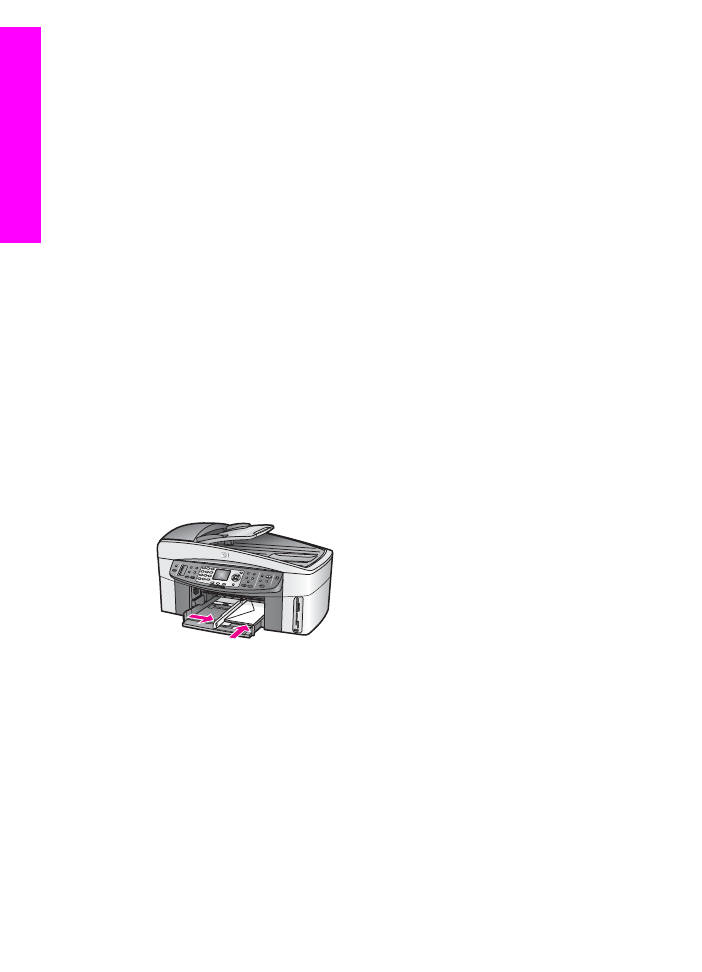
5
Slide the paper into the input tray so that the unattached edge is at
the top of the stack.
6
Insert the first edge into the input tray until it stops, as shown below.